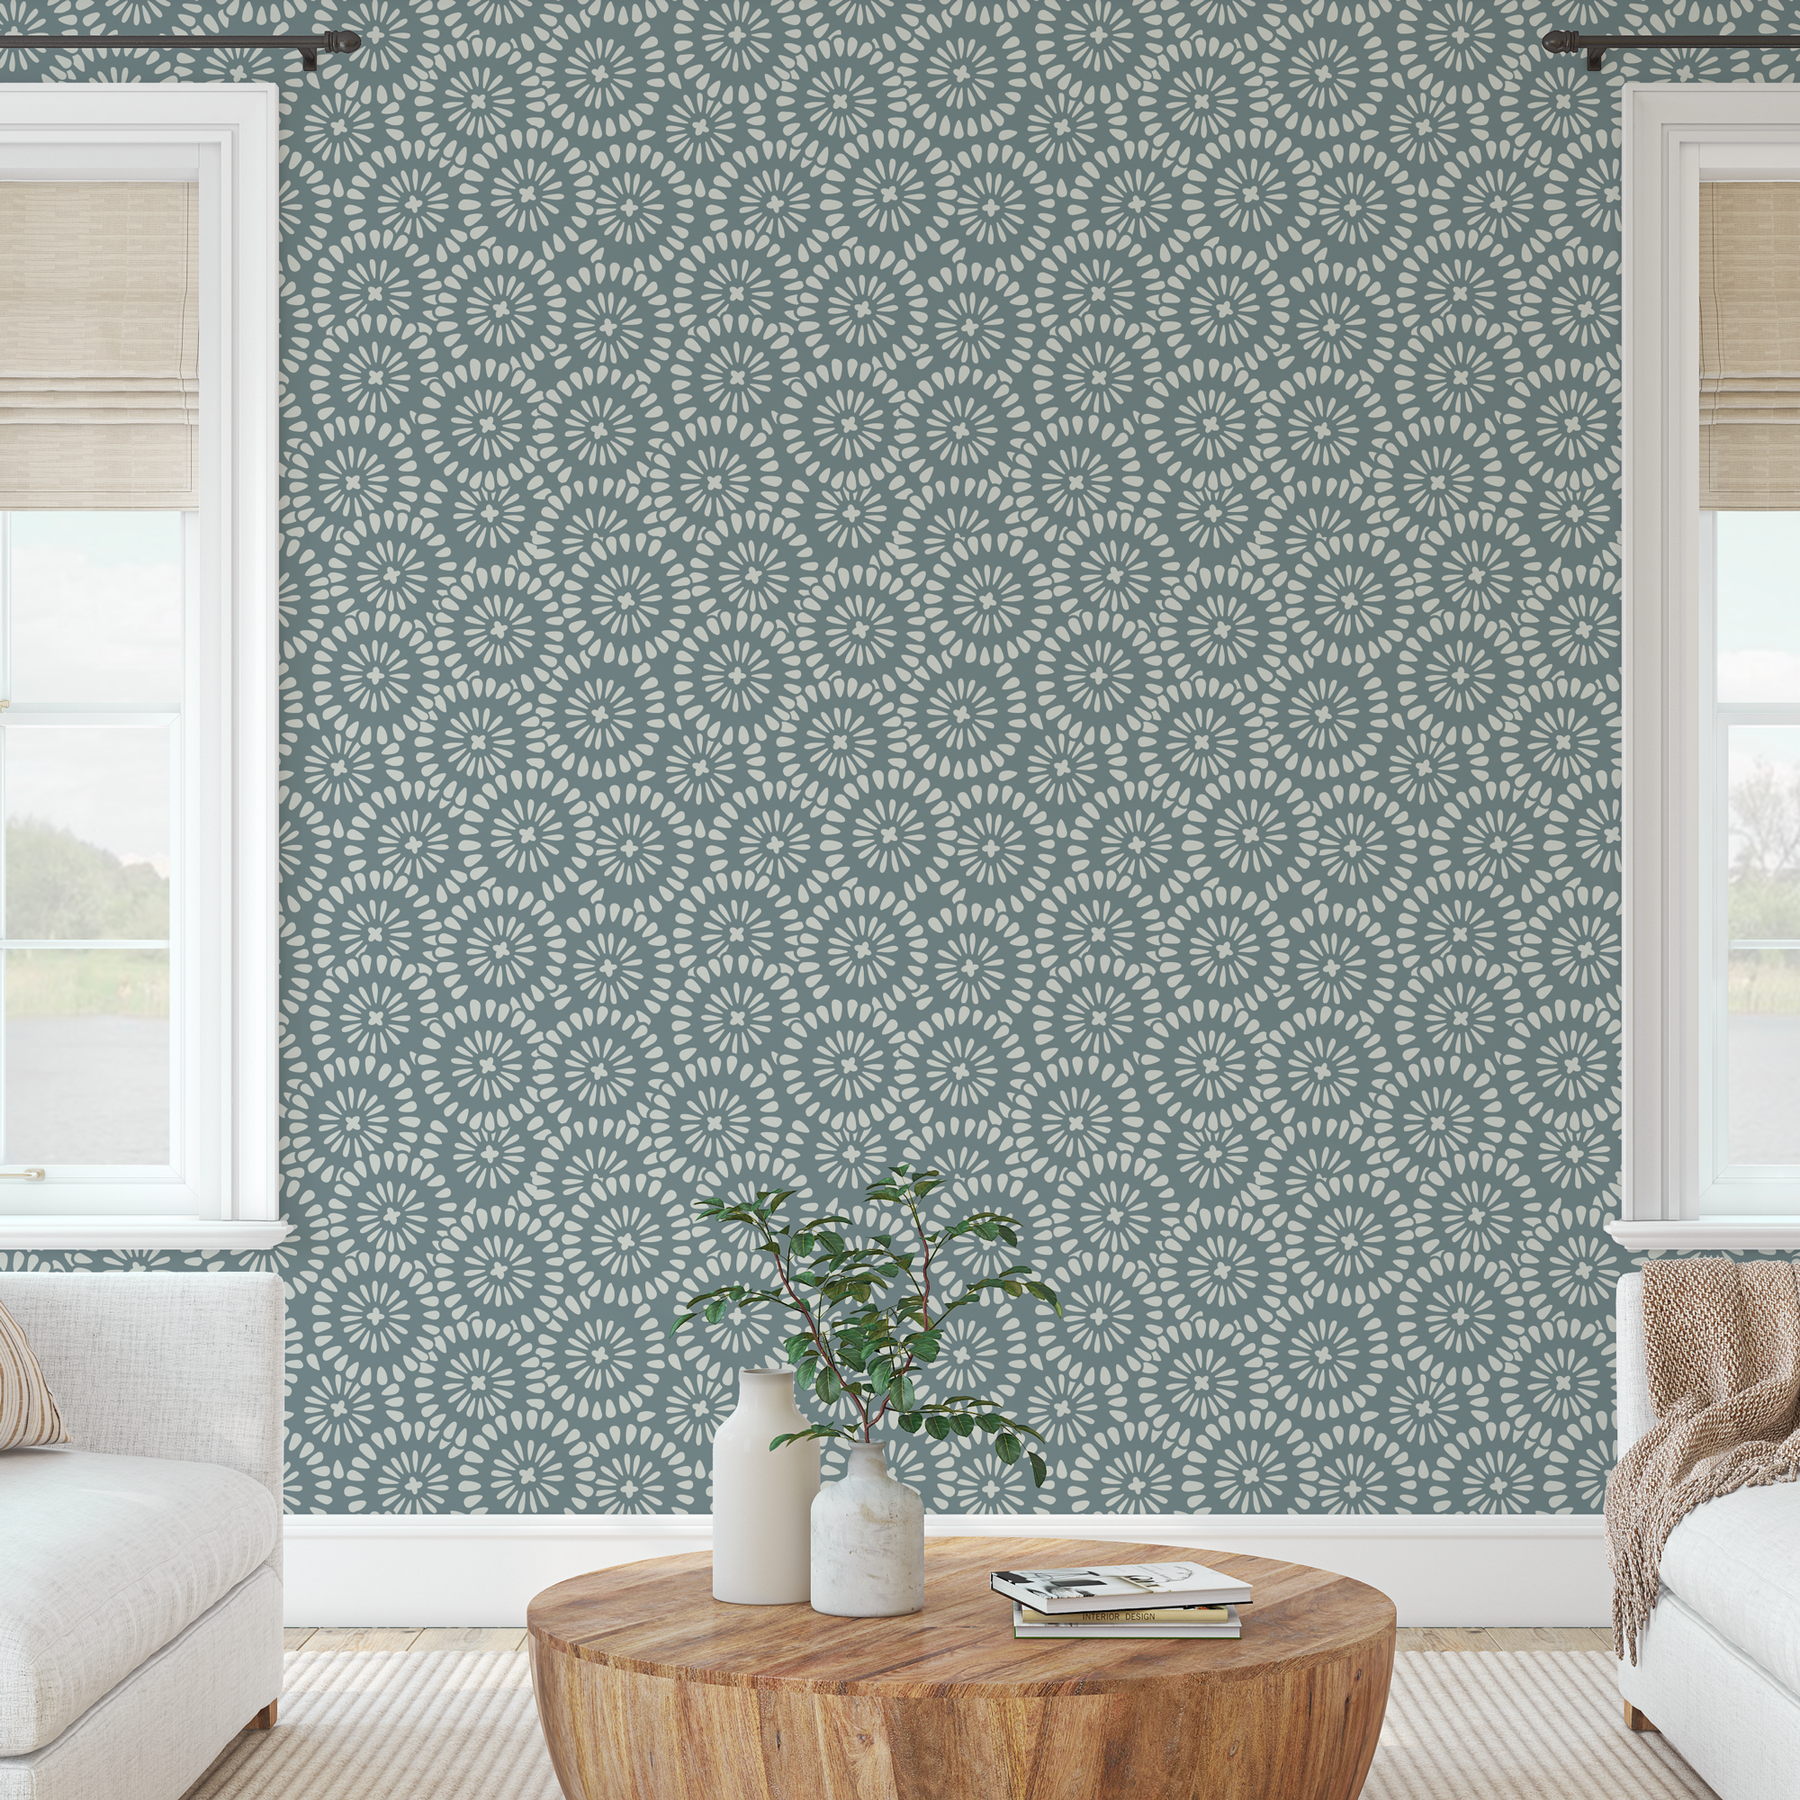
How to stencil a repeat pattern
Need a cost effective way to make a big impact in a room?
Why not stencil a focal wall or floor using a repeat pattern! It’s an affordable alternative to expensive designer wallpaper and can quick transform a room from drab to fab in one day.
We build the key tool to align a repeat pattern into all our pattern stencils. If you are new to stenciling a repeat pattern, this tool is called a registration mark.
What is a registration mark?
Registration marks are built-in guides that help you line up and repeat your pattern seamlessly, and create an allover pattern with just one stencil.
These marks can be a dot, a line, or part of the stencil design. At Stencil Revolution, we build the registration mark into the design to achieve the best results. And in this post, I’ll show you how to start a repeat pattern and identify the registration marks for a flawless repeat pattern.
For a pattern to repeat the left and right side of the graphic must mirror each other, and the same for the top and bottom. And I’ll show you how this works with our Tile stencil and our wall stencil.
How to stencil a repeat pattern with a tile stencil
Before we start, it's important to understand what part of the stencil is the main graphic and which part is the registration mark.
Let's look at the image below to see how that looks.
On the left, main graphic is highlighted, and on the right the registration marks are highlighted. The registration marks are what you will use to align the pattern as designed.

Step 1: Level the stencil
You can start the stencil anywhere on the floor you’d like, but we recommend the center or top center of the room. Where you start isn’t as crucial important as taking the time to level the stencil square to the room (top/bottom, and side/side) before you make your first repeat. If you skip this step, the pattern may be crooked, and believe me, it will make your eye twitch every time you look at it.
We don’t want that, do we? Take a few extra minutes to level the stencil before you start.

Step 2: Paint the first repeat
This part is the easiest - and if you need to know how to stencil, we’ve compiled all the tip and tricks in the article How to Stencil like a Pro. So, if you haven’t already, check the article out.

Step 3: Repeat horizontal
Move the stencil to the right, overlapping the mylar with the previous painted area, and line up the registration marks.

Step 4: Repeat vertical

How do you continue the repeat on the other side?
Easy, rotate the mylar stencil 90 degrees, and for the first repeat align the stencil on top of the main graphic. Because you painted this area already, you’ll just paint the registration marks that are open and unpainted. Then you’ll repeat steps 1-4 in the opposite direction to finish the room.

How to stencil a repeat pattern with a wall stencil
Honestly, it’s the same steps as stenciling with the tile stencil. The only difference being with our wall patterns, the design repeats on all sides. Meaning the registration marks are on all sides so you can stencil top to bottom, left to right without having to rotate the stencil.
Step 1: Level the stencil
Use a level to make sure the mylar is flush and level with the wall. You can start anywhere on the wall, but ideally you’ll want to choose a spot free of outlets or windows for the first paint. But typically it’s a good idea to start in the horizontal center, slightly toward the top of the wall. Again, it’s a preference - but we’ve had the best results with starting in the center top.

Step 2: Paint the first repeat
Using a dry to the touch roller or brush, paint the first repeat.
Step 3: Repeat horizontal
Move the stencil to the right and line up the right edge of the first painted repeat with the left edge of the mylar stencil.

Step 4: Repeat vertical
Move the stencil to the bottom/top and line up the bottom/top edge of the painted area with the top/bottom edge of the mylar stencil.


We have an article How to Stencil like a Pro that is a fabulous resource for the beginner or the seasoned stencil pro who needs a refresher.
All of our stencils are made with strongest mylar available, so they are reusable. With proper care, our stencils will last a very long time.
Happy stenciling!

Comments
Leave a comment