How to Stencil on Fabric

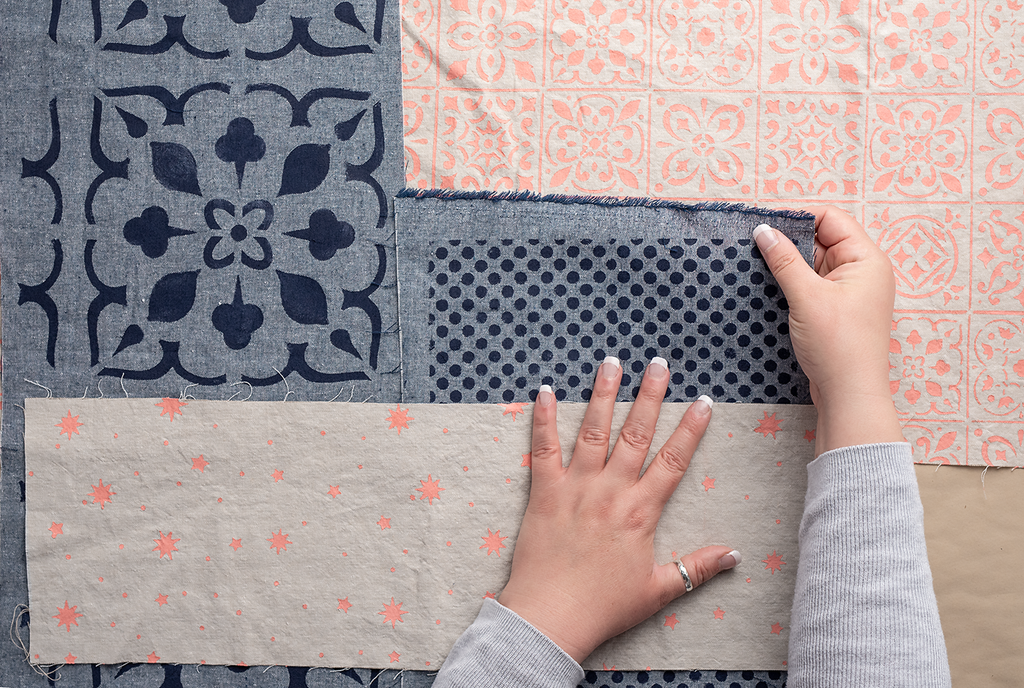
Can’t find the perfect fabric for your project? Instead of settling for second best, why not make your own? Stenciling on fabric is easier than you think and gives you complete control over choosing the base fabric, color, and pattern.
Let’s get started!
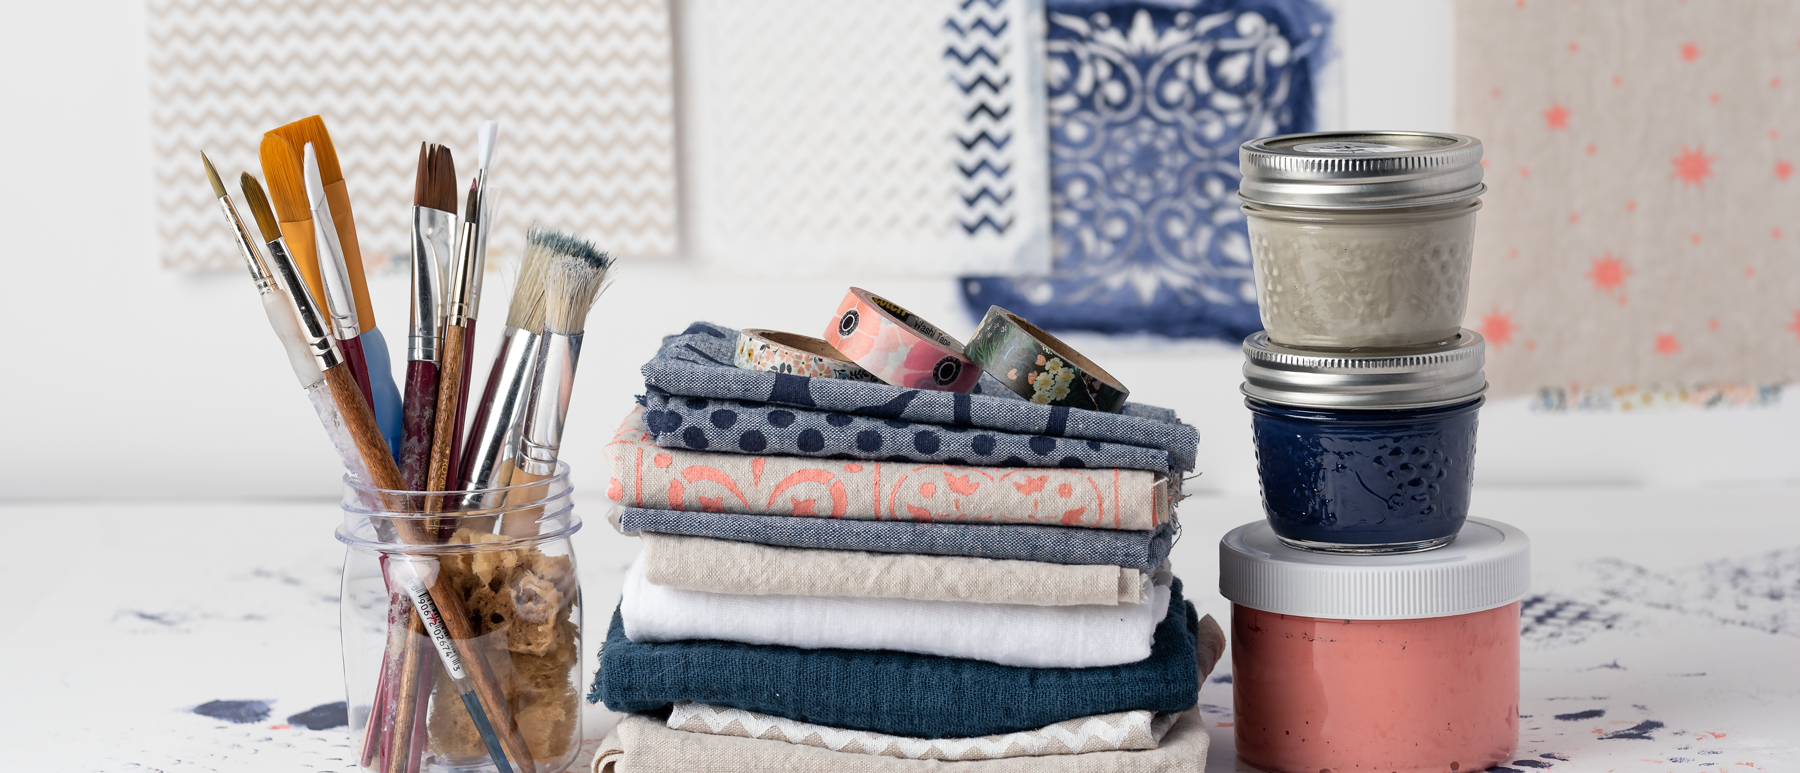
Gather Your Supplies
- Acrylic paint/fabric paint/fabric ink
- Fabric Medium (if mixing your own fabric paint from basic acrylic paint)
- Brush/Roller
- Paper towel or tray
- Painter’s tape ( we use and love Thermoweb purple tape)
- Stencil
- Repositionable adhesive spray (a must)
- Freezer paper (optional)
- Apron or painting clothes (recommended)
Let’s chat about paint

Anyone who has experienced the misfortune of getting acrylic on their clothes knows it doesn’t come out once it dries. So, you might wonder why you need to use fabric paint/ink vs plain acrylic paint then? Fabric paint has a medium that suspends the acrylic so when it dries it will leave a soft non-crispy finish. If you use acrylic straight out of the tube, it leaves a stiff hard finish. But, with fabric medium, the texture is soft and moves and bends with the fabric.
One fact to keep in mind, most pre-made fabric paint and ink are semi if not fully transparent. Semi-transparent paint/ink is best used on lighter coloured fabrics because it won’t show up on darker/black colored fabric. And it doesn’t hurt to have a basic understanding of the color wheel since the color of the ink and the color of the fabric will interact - so if you want to stencil with red fabric paint over blue fabric... you’ll get a purple.
How to stencil on dark fabric?
Mix your own fabric paint! All you need to include is a color that uses an opacifier, most commonly this is white. Mix your own concoction with fabric medium (follow manufactures instructions for paint to fabric medium ratio), and bam! Your own custom color.
Tip: Mix more paint than you might need. If you run out and have to mix more, it’s difficult to get an exact match. Store the leftover paint in a small jar for another project.
What type of fabric?
You can use any fabric. But the best results will be on a natural fiber fabric like cotton, hemp, linen, silk, etc.
If you are new to stenciling on fabric start with a tighter weave fabric. The fabric is more stable and easier to paint. With a loose weave fabric, some paint will fall through and show on the back. Not a bad thing, especially if your project uses a backing fabric - but something to note and be aware of.
For stretchy fabric is a bit trickier. It's really easy to paint off-grain which can create a distorted image. A handy trick for stretchy or high drape fabric is to iron on freezer paper (shiny side) on the wrong side of the fabric. This gives the fabric stability and prevents shifting and moving off grain. The freezer paper easily removes from the fabric with no residue.
Iron shiny side of freezer paper to the wrong side of the fabric + stabilize with tape ( our favorite is Thermoweb Purple Tape.

Pre-wash the fabric or not?
This is a hot debate in the sewing circles. There is no absolute answer because everybody has a different opinion.
Reasons to pre-wash fabric:
- Fabric shrinks, especially cotton. By how much? Depends on the quality of the fabric.
- Fabric can shrink unevenly.
- Removes any manufacturing chemicals and protective agents.
Reasons to skip pre-washing the fabric:
- Fabric shrinkage won’t impact the finished project.
- Unwashed fabrics are easier to work with.
- It takes too much time.
The decision is up to you, but we're on team pre-wash.
Let’s get painting!
Step 1: Stabilize the fabric

Cover your surface and stabilize the fabric using painters’s tape. Make sure to line up the fabric grain so the finished graphic is properly aligned Again, if using stretchy fabric, try the freezer paper trick, and then stabilize the paper.
Step 2: Use repositionable adhesive spray.
Using an adhesive spray (repositionable) when stenciling on fabric is must if you want crisp results. Fabric has a certain amount of give and can move and shift while painting. Using spray adhesive seals the stencil edges to the fabric and prevents paint bleed. Unlike stenciling on hard surfaces, there is no fix for paint bleed on fabric. If it’s ruined, it’s done.
Step 3: Apply the paint in layers


The fabric soaks up the paint, so you must work in layers. Give the first layer a light coat and let dry for a few minutes. This seals the surface and it minimize the the amount of paint soaking through to the back of the fabric.
Dab, swirl or roll the paint. The same techniques we showed you in our How to Stencil guide. Go read if you haven’t read this guide yer, or re-read for a refresher.
Step 4: Heat set

Once the fabric is fully dry, it’s time to heat set. Heat setting is a process that melts the fabric medium into the acrylic and bonds to the fabric. It’s not required but a good step if you plan on washing the fabric often.
- Sandwich a piece of scrap fabric or parchment paper over the fabric to protect both the ironing board and the iron.
- Set the iron on the medium setting and glide over the fabric continuously and lift a few times to avoid scorching the fabric.
Be sure to check the manufacturer's instructions on how long to heat set, but a general rule of thumb is 3-4 minutes.
That's all there is to it!


Comments
Leave a comment